In this example we will start with the Time & Date settings for your event.
This should work for you whether your trying to convert and existing event into a series or simply making a new event series..
The first occurrence of your event series will reflect the options chosen for Start/End under this heading.
This works the same as when you create a single event.
PROTIP: Be sure that you’ve specified the correct start date, end date, and start and end times for the first event in your series before proceeding.
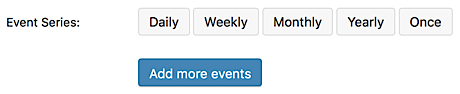
After setting up the first event in your series, you’ll see the Event Series area located just below the Start/End options for your event as shown below.

Click the Schedule multiple events button to display the first set of options for your event series.
This will bring up a of buttons denoting the recurrence types for your event series.
For any event series that conform to a regular pattern, select the option that best applies to needs (Daily, Weekly, Monthly, or Yearly). If your event occurs on specific dates without following an established pattern, select the Once option for your event. (NOTE: We’ll explore the options for pattern-based and non-pattern-based recurrences below).
Pattern-Based Event Series
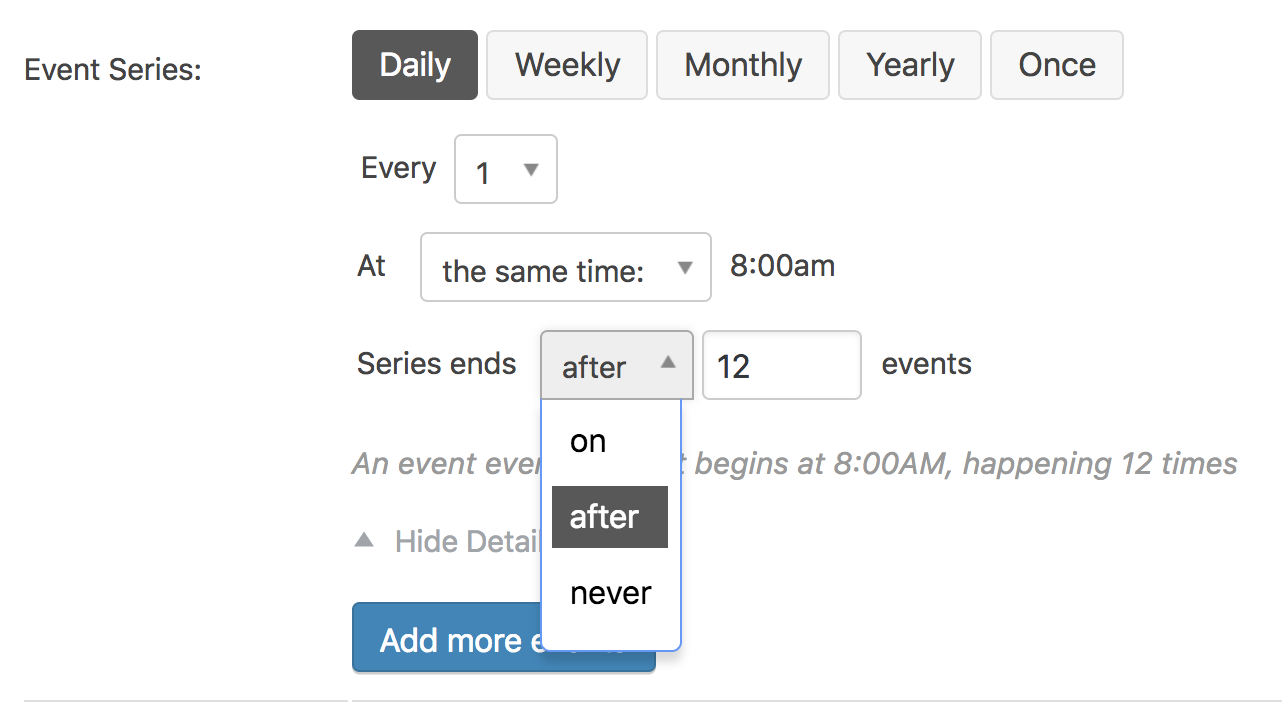
Once you’ve selected the best option for your event, more fields will appear, as shown below:

For this example, we'll use Daily event recurrence options. All pattern-based recurrence types will default to the most basic type of recurrence. In this case, that’s an event that recurs daily, at the same time as the original event. You can tailor this pattern even further, if needed. For example, you might wish to have:
- An event that recurs every three days
- A weekly event that recurs every week on Tuesdays and Thursdays
- A monthly event that always falls on the first Friday of the month.
Each of the patterns described above can be achieved using the Events Module.
Setting the pattern to end on a given date lets you specify the last possible date on which an event from the sequence can take place.
Example:
- You create an event starting Wednesday, October 2, 2019
- It recurs every week ending on Wednesday, October 23, 2019
- That final date is when the last event in the sequence will take place, not to be confused with the end date of the event itself
- If you selected Tuesday, October 22, 2019, then the last instance of the event would take place on the preceding Wednesday (October 18) instead
NOTE: If you set the event pattern to end after a certain date, the next logical date will be used as the final date. Using the previous example as context, that means setting the pattern to end after October 22 would mean the last date in the pattern would be October 25.
The on and after options let you distinguish between inclusive and exclusive date ranges. Selecting the never option means that events will be created indefinitely as dictated by your Recurrence Settings (described later in this article).
IMPORTANT NOTE: It is possible to create a recurring event with no end date for the event to stop recurring. Doing so will set the event to recur indefinitely meaning you will create an indefinitely growing number of events posts in the calendar. This can have a negative effect on the your calendars performance, causing it to load or react slowly based on the number of events that are present in the calendar.
Great News, if you're simply setting up a regularly occurring event pattern as described above -- then you're finished! Just scroll up to the Publish pane which should be visible on the right side near the top of the page and click the blue Publish or Update button.
Never-Ending & Long-Term Recurrence Patterns
If you need to create never-ending or long-term recurring events then keep reading...
Click on the Add more events button after you have finished with a set of recurrence rules, this will expand the next set of options.
PROTIP: You can delete recurrence rules by clicking the trash can to the right of the desired row you would like to delete.
Before we get started, it's important to understand that every event you create has a corresponding entry in your chapter sites database, this means that a never-ending event could equate to an infinite number of database entries. This would be bad news for your site as it could crash your database and cripple your sites performance! To a lesser extent, the same thing goes for long-term recurrences which contain hundreds of records which again would place a significant burden on your site, slowing it down considerably.
There are safety mechanisms built into the events module to mitigate this, events are created ahead of time as needed and old entries are cleaned-up within a buffer period. By default, this period extends 2 years from the date in both directions, meaning that:
- Recurring events that are more than 2 years in the past will be automatically removed
- Each day, any additional events that need to be created to ensure there are 2 years’ worth of future events will be automatically generated
So, when you create a long-term or never-ending event, you’ll see a notice that looks something like this:

That number shows you how many instances of your event have been created (as controlled by your buffer period). As time passes, old events will be deleted and new ones will be made as defined by your event.
NOTE: ASMP website administrators have the ability to extend or shorten this buffer period to enhance website performance.
Non-Pattern-Based Event Series
If your event series includes one or more event instances that do not occur as part of a regular pattern, you can add these events to your series by using the Once recurrence type. Clicking this button when adding a recurrence rule to your event series will display the following options.

Enter the date for your event into the On field by typing or by using the provided date picker. You can also specify whether this event will occur at the same or different time as the original event.
Once you have added the details for your first event recurrence, you may add other rules as needed.
Just select the Add more events button.
You can remove a set of recurrence rules at any time by clicking the trash can located to the right of the desired row. After you’ve added the rules for all of your event dates, you can save your changes by scrolling up to Publish pane on the right side of the page and clicking the Publish or Update button.
Exclusions
You also have the ability to exclude specific dates or date ranges within a recurring series.
You'll notice the Add Exclusion button appears once you've added any recurrence rules. Clicking this button will display a row of buttons. You can use the Daily, Weekly, Monthly, or Yearly exclusion options to exclude events in a pattern-based series.
You can use the Once exclusion option to exclude a single event on a specific date (for example, you may wish to exclude a holiday from a regularly occuring Chapter meeting).

You may add as many exclusions as you necessary for your event series. Again, you can click on the trash can icon to delete any exclusion rules.
Display Settings
Adding numerous recurring events oftentimes results in a messy looking or very busy calendar, causing confusion for users accessing your events in list-style views.
To avoid messy calendars, you can hide recurring events from list-style views for all but the first upcoming event in each sequence.
Site administrators will find this setting at Events > Settings on the General tab.

Breaking Events from Series
Now we'll cover what to do if you want to break a single instance of an event out of the series (for example, you want to push one instance of an event an hour back while leaving others in the series unaltered).
There are two methods for breaking events out of a series:
- Breaking off a single instance of an event
- Breaking off a batch of events from a given start date.
Let’s cover the single instance method first.
Breaking off a Single Event
When you are viewing an instance of an event on your site, you should see an Edit Event link in the toolbar. When you hover over this link, a drop-down menu should appear with a few options (as shown below).
Select Break from Series.
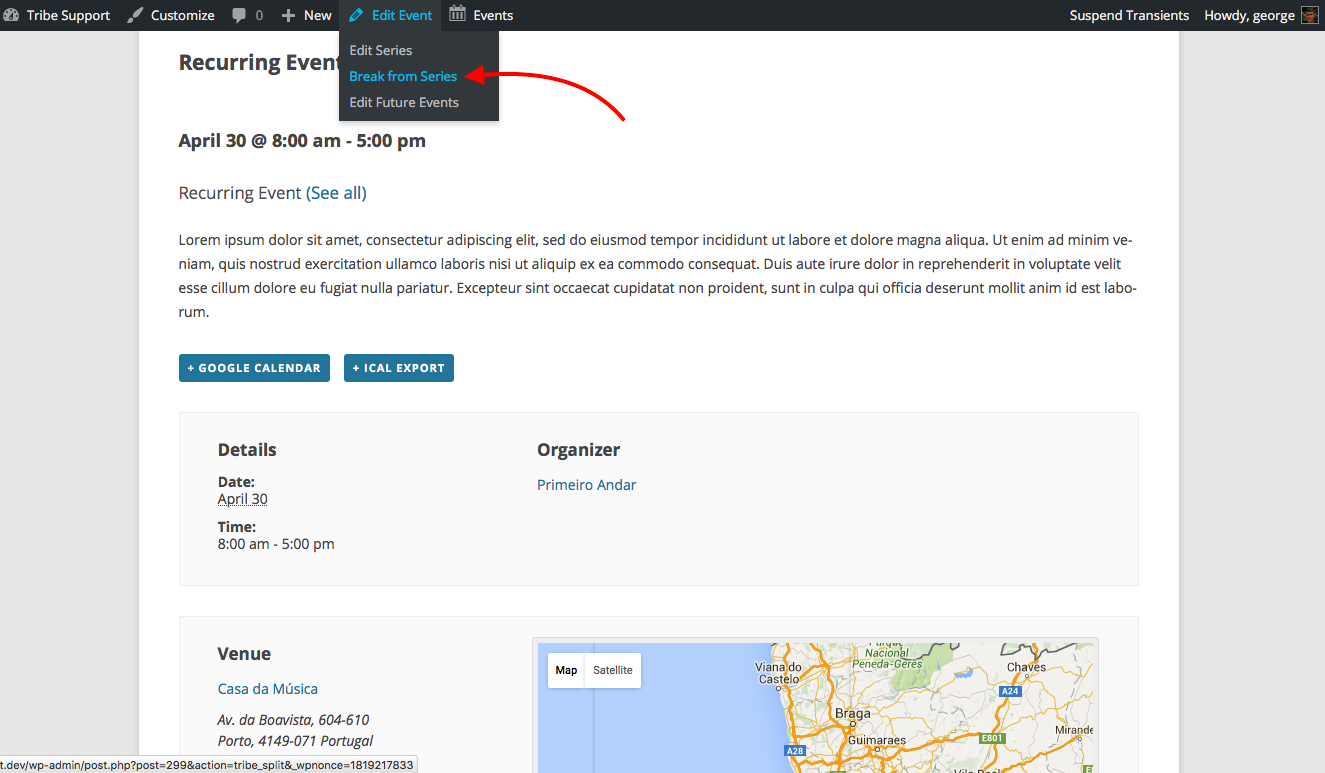
You should be brought to the edit screen for this event in your WordPress admin. The event will no longer be a part of the recurrence series, but rather a stand-alone event.
Breaking off a Batch of Events
This second method doesn’t break off just one event. It splits the main recurring series in two, leaving two separate editable reoccurring series of events.
To do this, navigate to Events from your WordPress administrative sidebar.
In your listing of events, locate the point at which you want to split up the series. Hover the title of this event and look for the Edit Upcoming link.
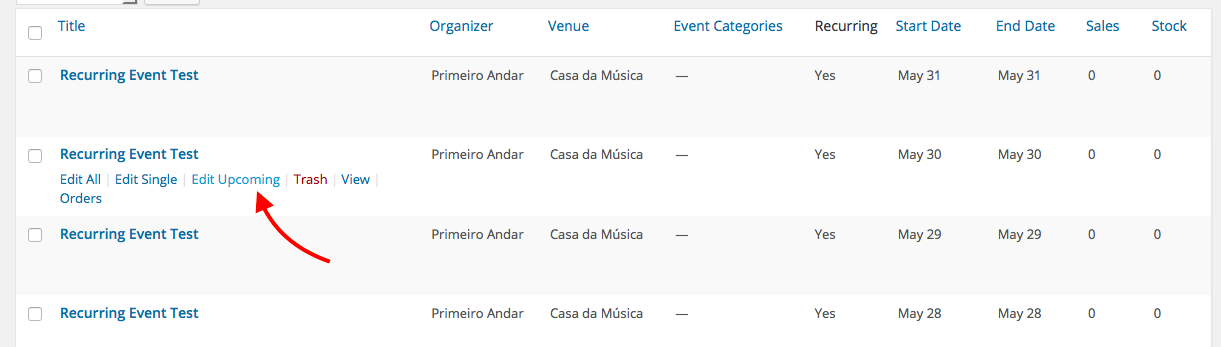
Click this link to confirm that you’d like to split your event series at this location. You’ll see a pop-up dialog box (below) confirming the change before it is processed.
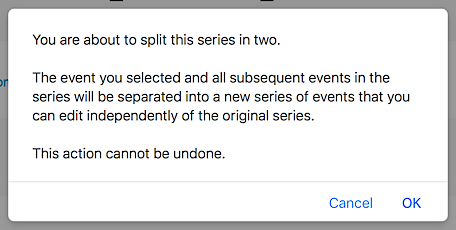
Click OK to confirm.
This feature could be useful if you've scheduled an event that runs for a whole year every Friday at 7pm. Then, after four months of so, things change, and the event gets shifted to 8pm every Friday. If you know the the change is going into effect on April 1st, you could go to the April 1st event and use the Edit Upcoming feature to make this event and every event after it start at 8pm instead of 7pm saving you the time and effort of starting from scratch!